|

| |
|
 My
Grizzly air cleaner. It mostly is for the particles that get airborne from the portable
power tools. I would recommend that anyone needing a unit
like this build one themselves, that is if you can get a blower.
You will probably end up with a bigger unit, for less money. I bought this
one, because I didn't have the time to build one, and didn't have a blower
at the time. Now I have several blowers. Mainly anything that sands spews dust in the air, even
with collection at the source. My
Grizzly air cleaner. It mostly is for the particles that get airborne from the portable
power tools. I would recommend that anyone needing a unit
like this build one themselves, that is if you can get a blower.
You will probably end up with a bigger unit, for less money. I bought this
one, because I didn't have the time to build one, and didn't have a blower
at the time. Now I have several blowers. Mainly anything that sands spews dust in the air, even
with collection at the source.
|
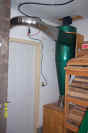
 My
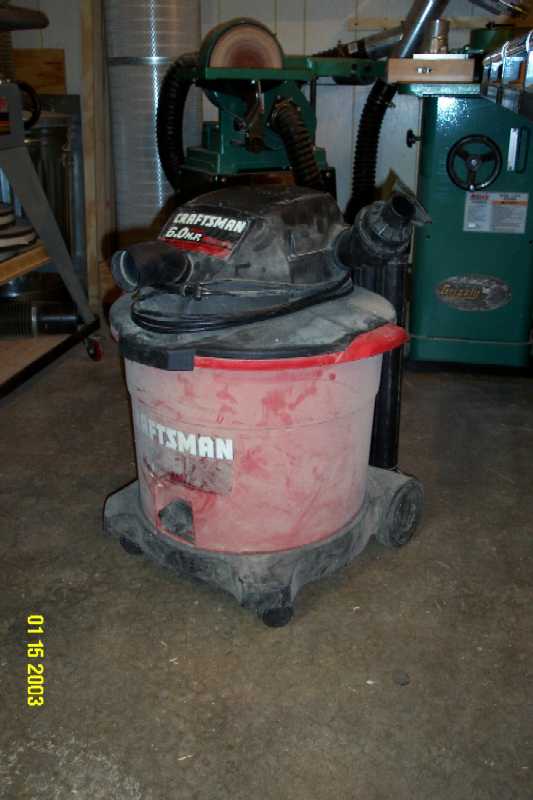
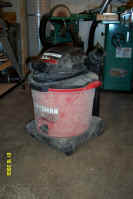
brother gave me the shop vac for Christmas '98. I use it to clean up
the shop instead of a hose off the DC because I want to prevent foreign
debris from getting into the dust that I get out of the dust collector.
I dispose of the DC dust into the composter, but throw the debris out of
the shop vac into the trash. My
brother gave me the shop vac for Christmas '98. I use it to clean up
the shop instead of a hose off the DC because I want to prevent foreign
debris from getting into the dust that I get out of the dust collector.
I dispose of the DC dust into the composter, but throw the debris out of
the shop vac into the trash. |
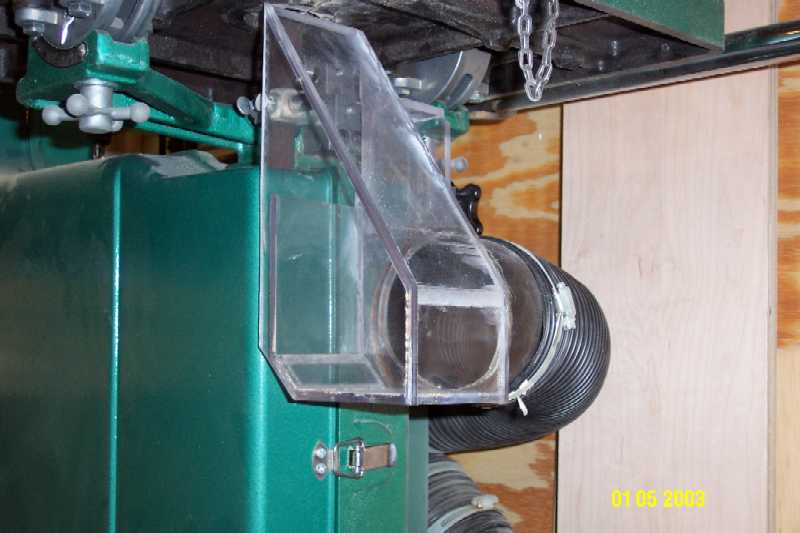
In my woodshop in Dayton, Ohio, space was at a premium, and dollars
few. So I had to make due with this makeshift system. To make the
shop vacuum not as noisy, I bought the muffler for it from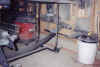 Sears, and it helped
some. To increase the volume of air the vacuum moves, I
installed a Cleanstream filter. That gave the vacuum enough power to
keep up to my 12.5 inch Delta planer taking almost a full width cut, until the
filter got loaded with dust.
I utilized the cyclone lid on the 5 gallon pail to increase the capacity
of the system, and it is a lot easier to empty. One thing I found
is that lighter chips, like pine chips from the planer will not stay in
the pail. The vacuum sucks them right in. Sears, and it helped
some. To increase the volume of air the vacuum moves, I
installed a Cleanstream filter. That gave the vacuum enough power to
keep up to my 12.5 inch Delta planer taking almost a full width cut, until the
filter got loaded with dust.
I utilized the cyclone lid on the 5 gallon pail to increase the capacity
of the system, and it is a lot easier to empty. One thing I found
is that lighter chips, like pine chips from the planer will not stay in
the pail. The vacuum sucks them right in.
|
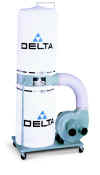 I
finally gave up on the shop vacuum as my dust collection system, but I need a
unit that would run on 110 volts so I bought
the Delta 50-850 1200 CFM dust collector. I
finally gave up on the shop vacuum as my dust collection system, but I need a
unit that would run on 110 volts so I bought
the Delta 50-850 1200 CFM dust collector.
|
I first started out with one
4" PVC pipe running down the wall to my table saw and jointer, with a empty
connection so I could hook up my planer and router table. Didn't take long
and I wanted to expand to other tools and needed more suction. So off to
the hardware store I go. Came home with 6" PVC and the fittings I
needed, and with sticker shock! I had bought schedule 40 PVC becaure that
is all they had.
I removed the wye at the blower, and to my
surprise there was a restriction that reduced the 6" input down to a
4" input to the blower. I removed that with a hammer and chisel and
installed the 6" PVC runs.
After I got it all installed I was amazed
at the suction I had! However, I was also alarmed at the amount of static electricity
the system had. At about the same time I had to empty the bag of
sawdust. What a pain! If I had not had help, I think the sawdust
would have been all over the lawn! I decided that a major system overhaul
was in order.
I returned all the pieces of PVC pipe that I could, then I ordered metal pipe
and fittings from Oneida Air. The
price difference between metal and the PVC I had was minimal. 6"
Schedule 40 PVC
fittings are expensive!
After more research, you can use the thin wall sewer drain pipe and
fittings They are cheaper and will not collapse under the
suction. I still prefer the metal pipe and fittings. They take more
work to seal the joints, but you can get a greater selection of fittings and
adjustable elbows. (0-90 degrees) They say that the static from the
plastic pipe will not cause a problem, but grounding wires along the pipe is a
necessity. I have received several nasty shocks from just the short runs
of flex I have.
I also built a cyclone using the plans from the Wood Magazine
cyclone.
|
|
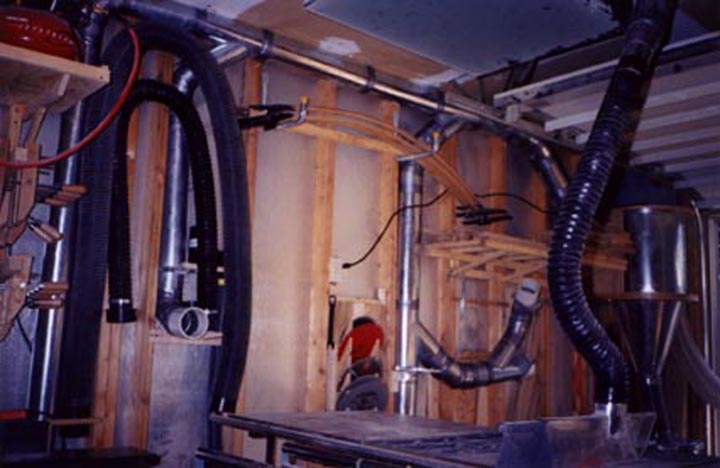
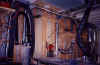 Here
you can see my finished system that I had installed while I was in Dayton, Ohio.
There was six 4" drops along one wall in the shop. Here
you can see my finished system that I had installed while I was in Dayton, Ohio.
There was six 4" drops along one wall in the shop.
|

|
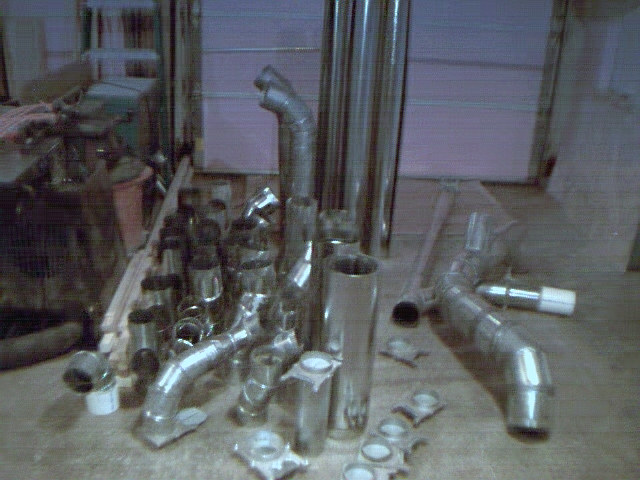
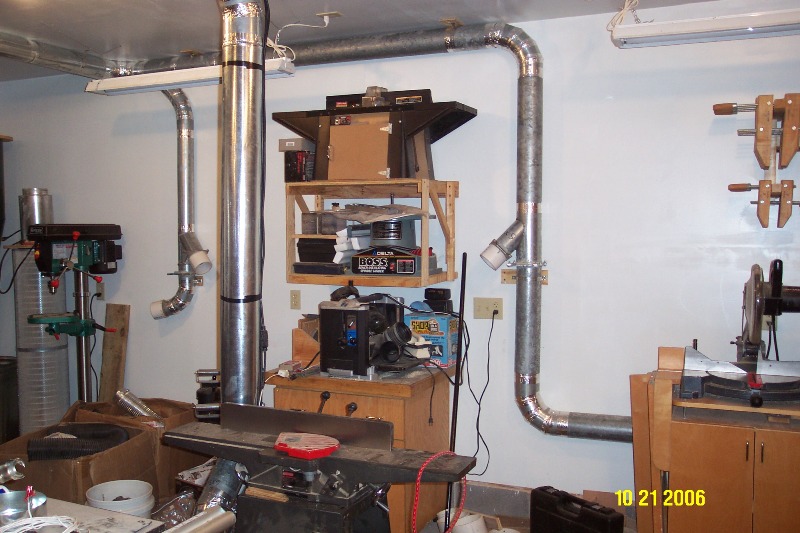
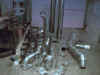 When
I moved to Oklahoma City, I had to redo my duct layout, and I also increased the number
of machines I collected from. Here is all the pipe and fittings it took to
make that system. I have ten 4" drops and one 5" drop
spread over my 18'x21' garage workshop. When
I moved to Oklahoma City, I had to redo my duct layout, and I also increased the number
of machines I collected from. Here is all the pipe and fittings it took to
make that system. I have ten 4" drops and one 5" drop
spread over my 18'x21' garage workshop. |
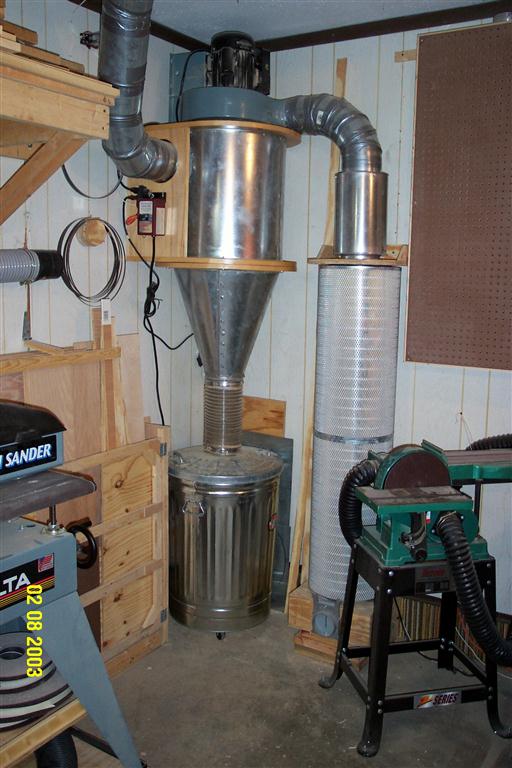
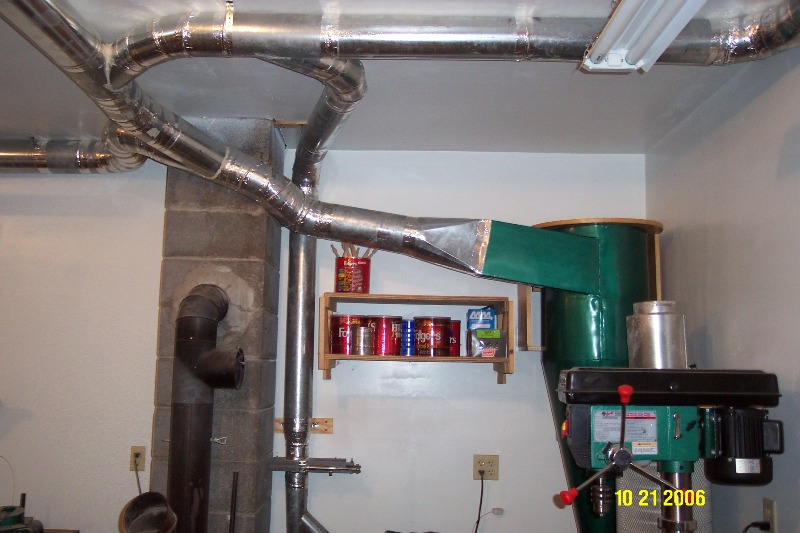
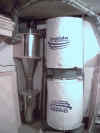 This
is when I had Oneida oversized filter bags for filtration. I have an extra garbage can on casters
sitting in another corner, for when this one gets full. I have installed
the silencer from Oneida and the unit is a little quieter. I have filled the cans a bunch of times and so far there is nothing to speak of in the bags.
I have just started using my drum sander, and I was happy to see that the cyclone separates some sanding dust before the air is exhausted to the bags. This
is when I had Oneida oversized filter bags for filtration. I have an extra garbage can on casters
sitting in another corner, for when this one gets full. I have installed
the silencer from Oneida and the unit is a little quieter. I have filled the cans a bunch of times and so far there is nothing to speak of in the bags.
I have just started using my drum sander, and I was happy to see that the cyclone separates some sanding dust before the air is exhausted to the bags. |
|
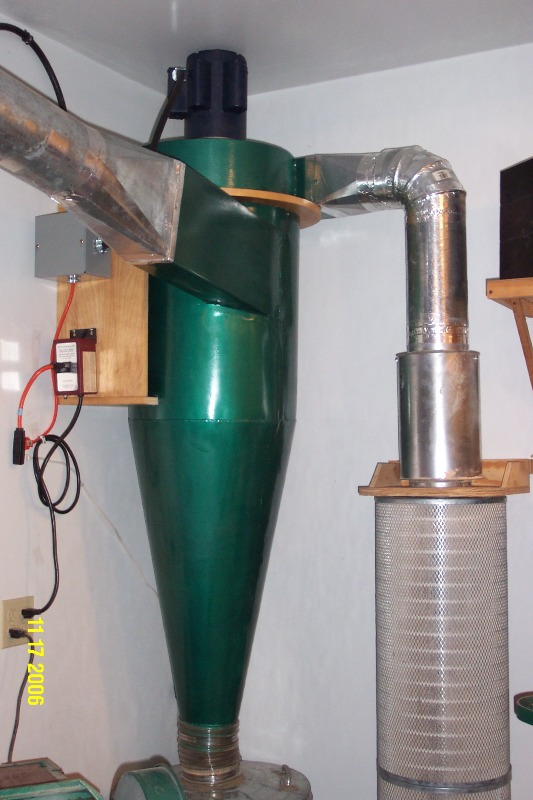
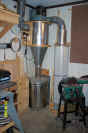 I have replaced the filter bags with
two 0.2 micron Torit
cartridge filters that I bought from www.Buy-Filters.com.
Each filter is 12.75" in diameter and 26" tall. I used some silicone to
glue the filters together. A plywood base with a blast gate for cleanout was constructed and a plywood cap with accommodation for the 6" duct work was placed on top of the column. The larger sliver element just above the filters is the Oneida
silencer. The base and the top mount I built from these plans
I got from Saws N' Dust. In addition to the finer filtering size, I have
recouped 8 sqft of precious floor and 2 feet of wall space. I have replaced the filter bags with
two 0.2 micron Torit
cartridge filters that I bought from www.Buy-Filters.com.
Each filter is 12.75" in diameter and 26" tall. I used some silicone to
glue the filters together. A plywood base with a blast gate for cleanout was constructed and a plywood cap with accommodation for the 6" duct work was placed on top of the column. The larger sliver element just above the filters is the Oneida
silencer. The base and the top mount I built from these plans
I got from Saws N' Dust. In addition to the finer filtering size, I have
recouped 8 sqft of precious floor and 2 feet of wall space.
|
|
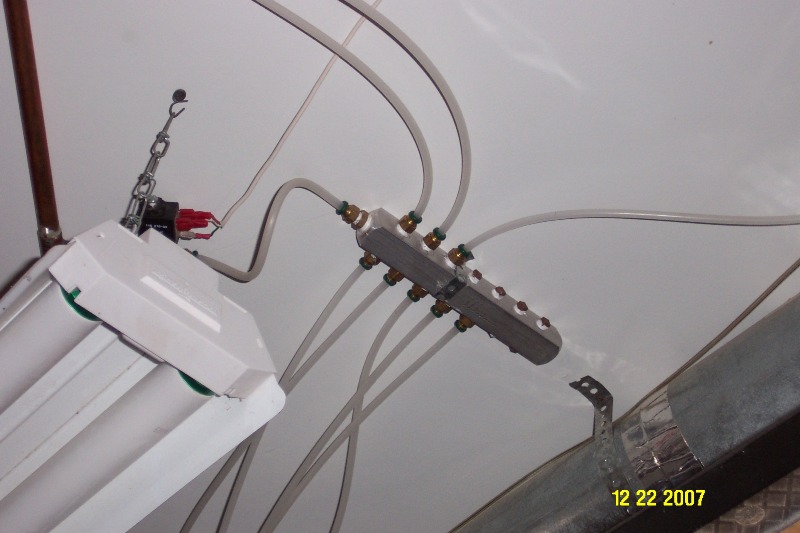
I received the Long Ranger DC remote control for Christmas and now I
can control the collector from anywhere.
|
Here is the installation in the new shop.
There are 17 drops and 2 floor sweeps in this system.
|
 Here
is most of the dust collection pipe and fittings I have. I have ordered a
few more pieces for the main trunk. Here
is most of the dust collection pipe and fittings I have. I have ordered a
few more pieces for the main trunk. |
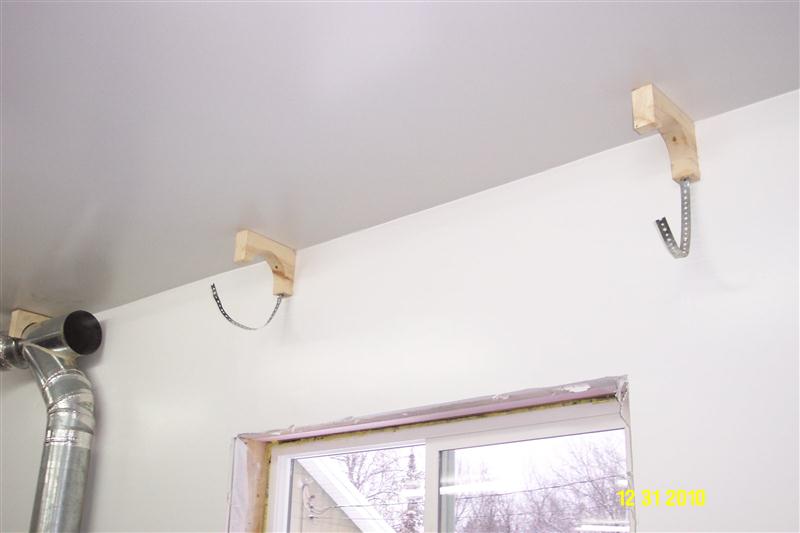
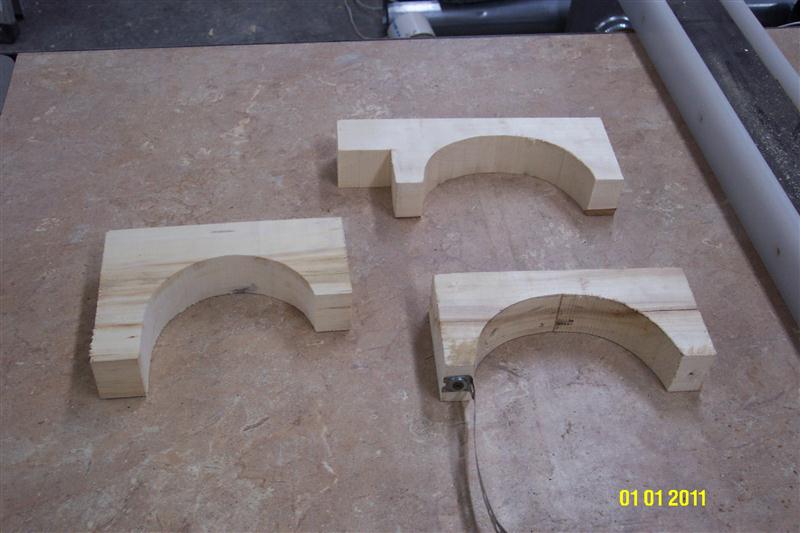
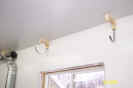 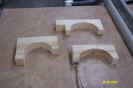 To
hold the pipe to the walls and ceiling I made brackets out of 2x6s for
corner mounting points (left bracket) and 2x4s for surface mounts. The
lower right bracket is for the pipe that go over a trust/stud, and the top
right bracket is for a pipe that ends up offset of a trust/stud. I hold
the pipe into the bracket with duct strap. To
hold the pipe to the walls and ceiling I made brackets out of 2x6s for
corner mounting points (left bracket) and 2x4s for surface mounts. The
lower right bracket is for the pipe that go over a trust/stud, and the top
right bracket is for a pipe that ends up offset of a trust/stud. I hold
the pipe into the bracket with duct strap. |
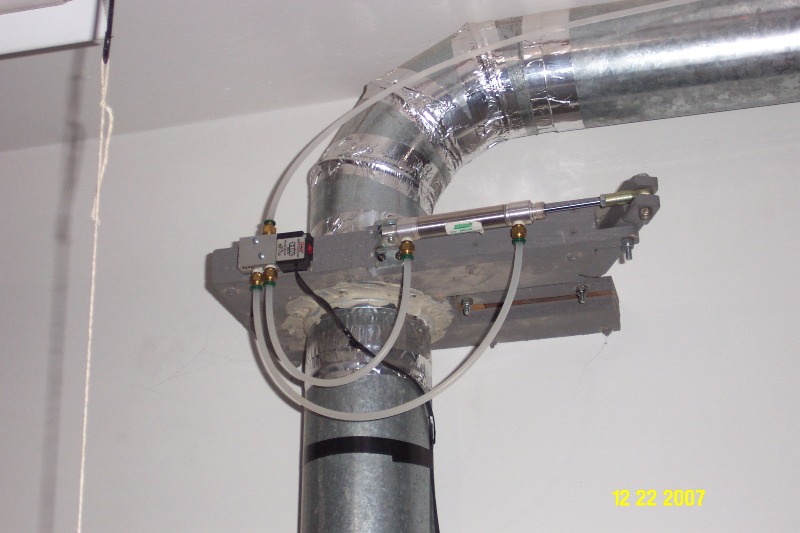
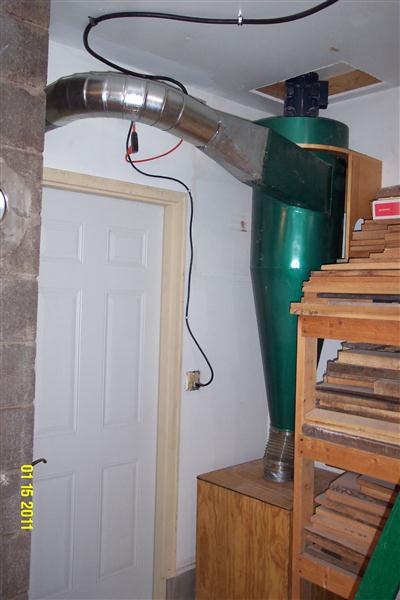
 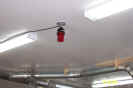 The
cyclone is plumbed in. In the right picture is my strobe that I have
hooked to my full dust bin sensor. The
cyclone is plumbed in. In the right picture is my strobe that I have
hooked to my full dust bin sensor. |
|