|
| |
Bunk Beds
| Feb 1, 2003
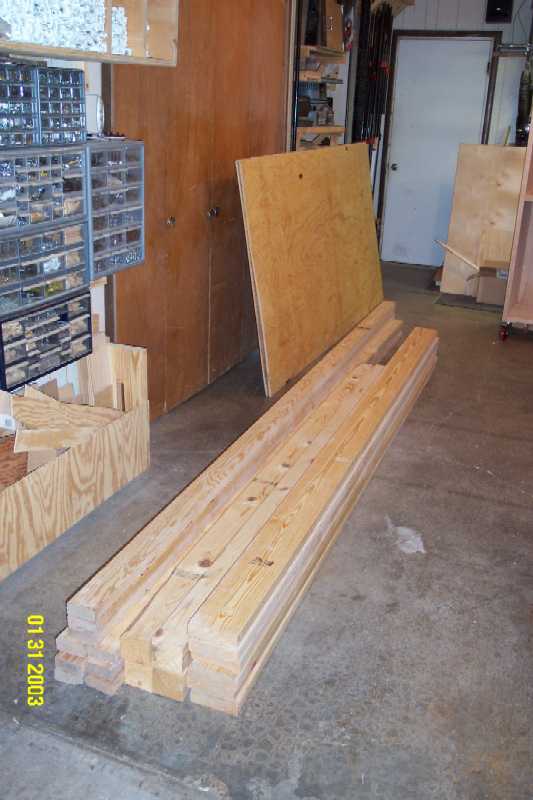
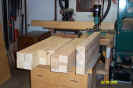
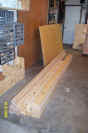 Here
is the lumber to build a set of bunk beds for a friend. Here
is the lumber to build a set of bunk beds for a friend.
|
| Feb 8, 2003
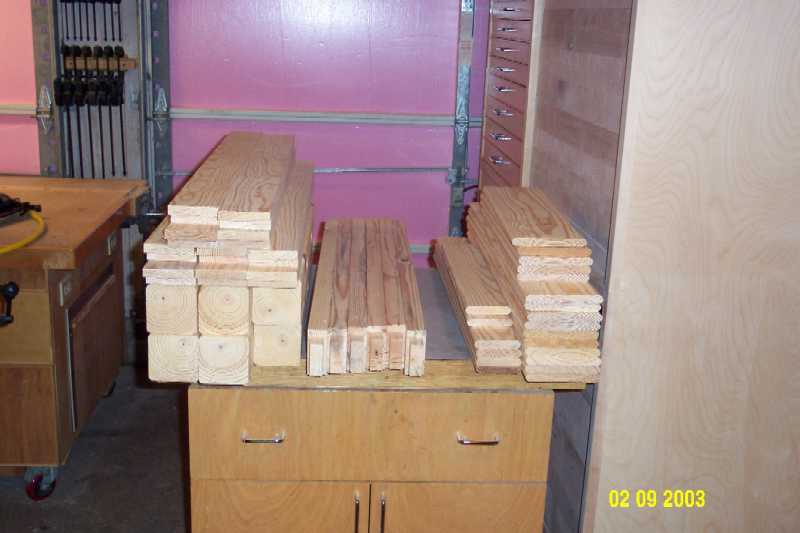
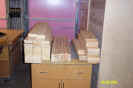
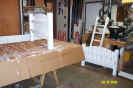
 I
cut most of the lumber into the pieces I need for the beds. I have
many mortise and tendon joints to cut into these pieces to form the beds. I
cut most of the lumber into the pieces I need for the beds. I have
many mortise and tendon joints to cut into these pieces to form the beds.
|
| Feb 9, 2003
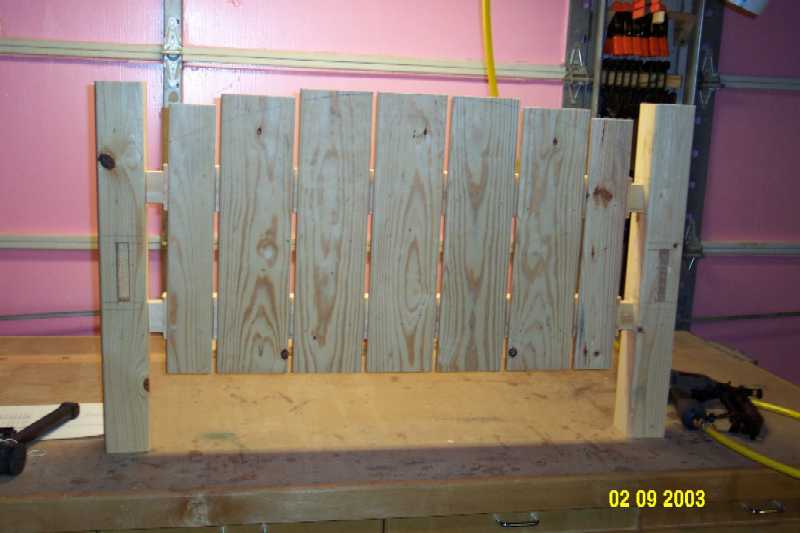
 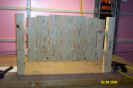 Here
is one footboard dry fitted together, with the other three head/footboards
sitting unassembled on the cart. Here
is one footboard dry fitted together, with the other three head/footboards
sitting unassembled on the cart.
|
| Feb 10, 2003
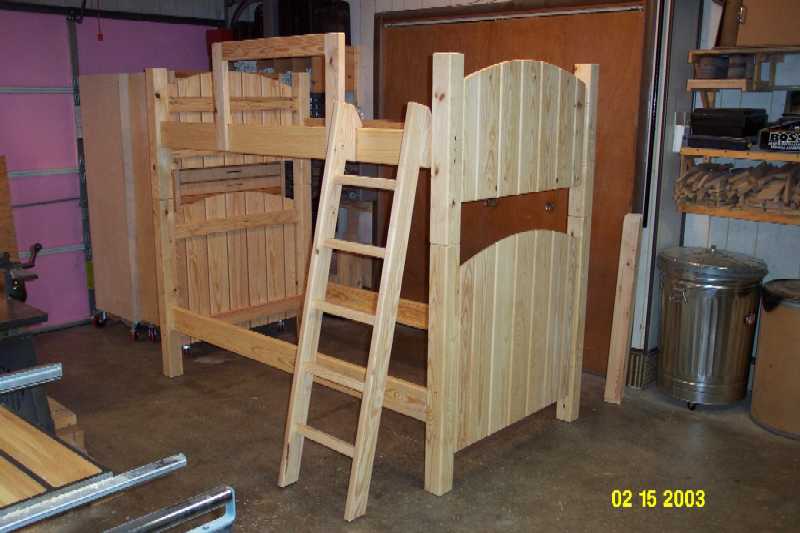
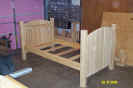 All
of the head/footboards are assembled and here is the assembled bottom
bunk. We have to cut out the plywood for the mattress to lay on on
and final assembly of the top bunk. All
of the head/footboards are assembled and here is the assembled bottom
bunk. We have to cut out the plywood for the mattress to lay on on
and final assembly of the top bunk.
|
| Feb 13, 2003
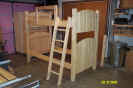
 I
stacked the beds together and started on the connections between the
head/footboards and the rails. The ladder is also complete. I
stacked the beds together and started on the connections between the
head/footboards and the rails. The ladder is also complete.
|
| Feb 15, 2003
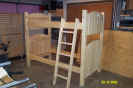
 The
woodworking is done. We made a brace to keep the top person from
falling out of the bunk and completed the connections between the
head/footboards and the rails. The
woodworking is done. We made a brace to keep the top person from
falling out of the bunk and completed the connections between the
head/footboards and the rails.
|
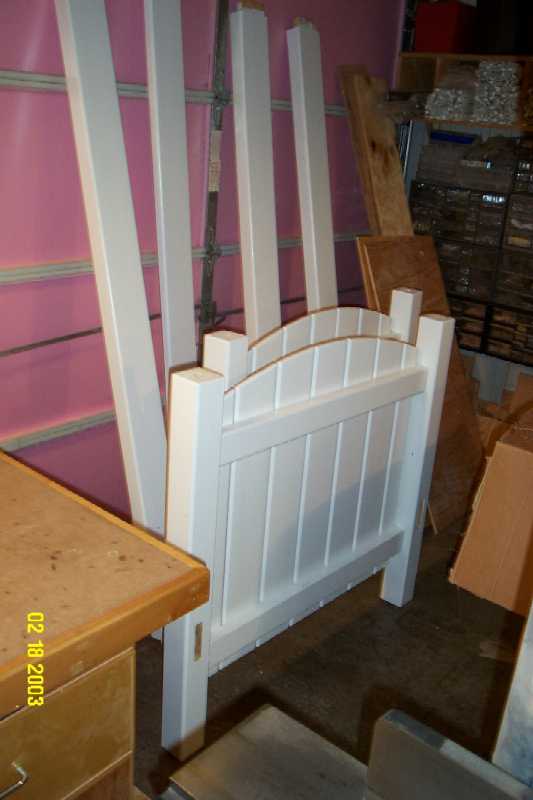
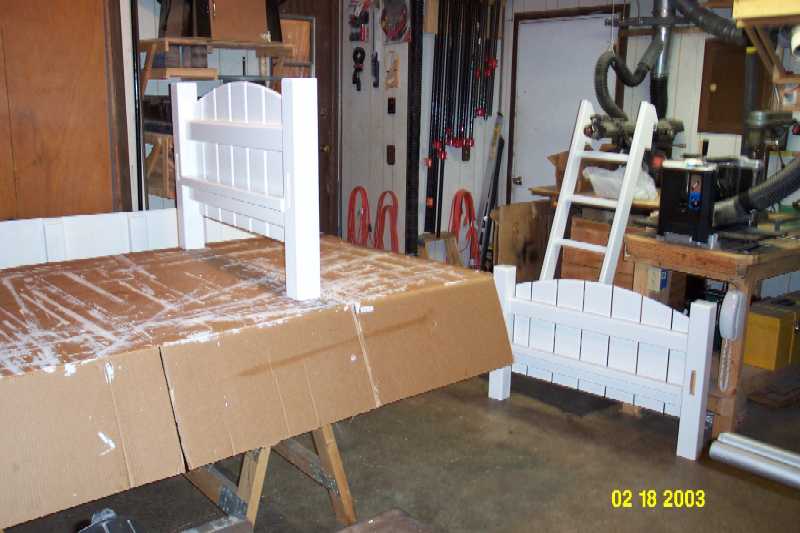
| Feb 18, 2003
  The
bed has been painted a gloss white. The
bed has been painted a gloss white.
|

Automatic Blast Gates
|