The plans that I started this project with
can be found here.
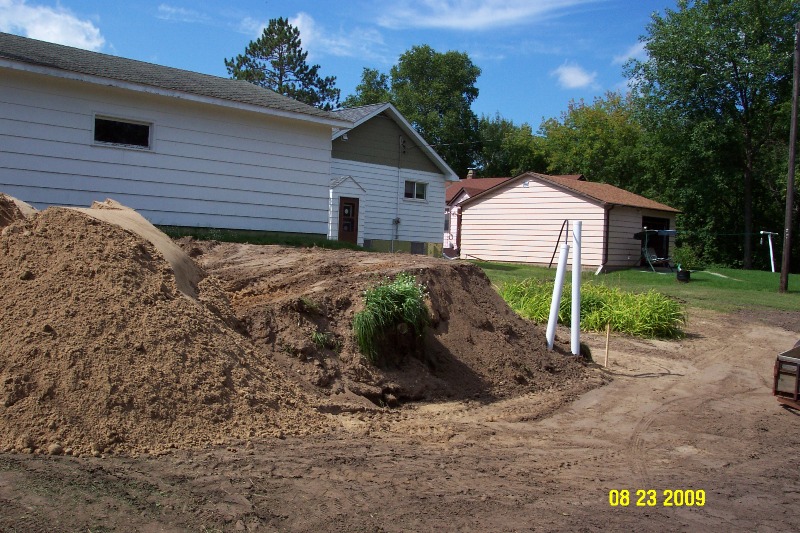
We
got started on the groundwork for the new shop in late summer 2009. The pipes
sticking out of the ground are the sewer and the water line from the
house.
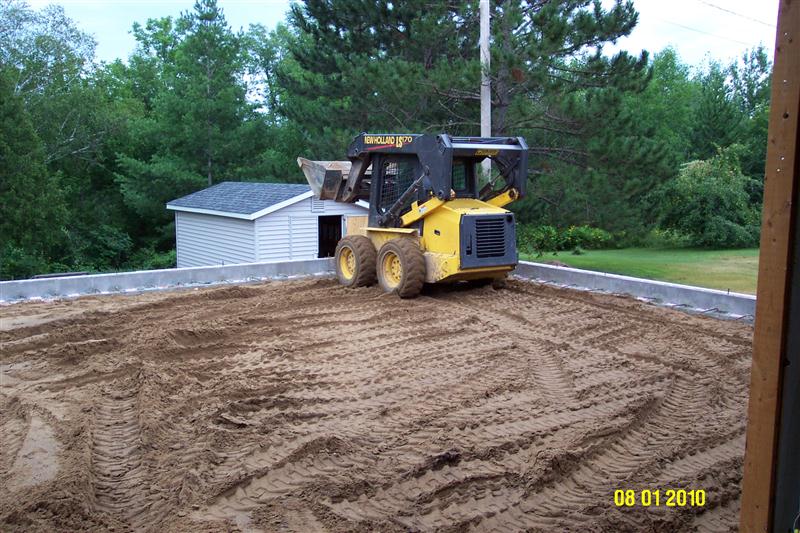
We
hauled in fill to bring up the ground level to the level of the garage.
We
got the skid steer on top of the fill to level it off.
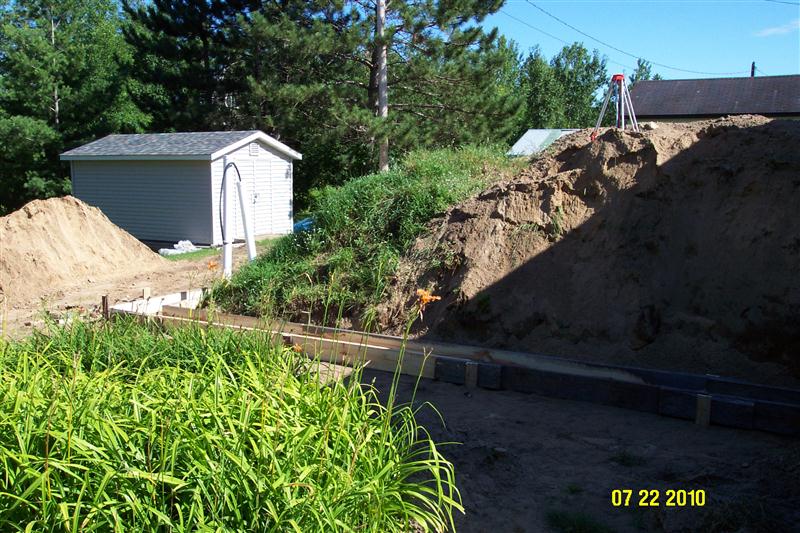
In
the summer of 2010 construction started in earnest. I have dug out for the
footings.
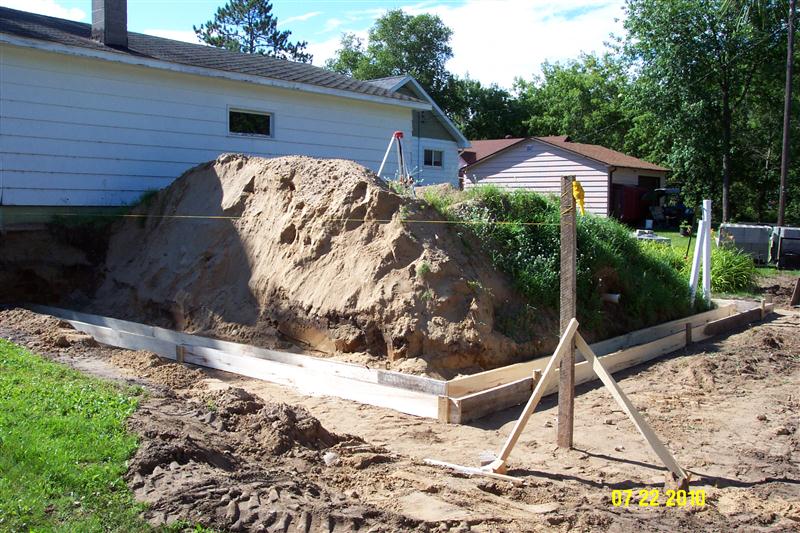
The
forms are in for the footings.
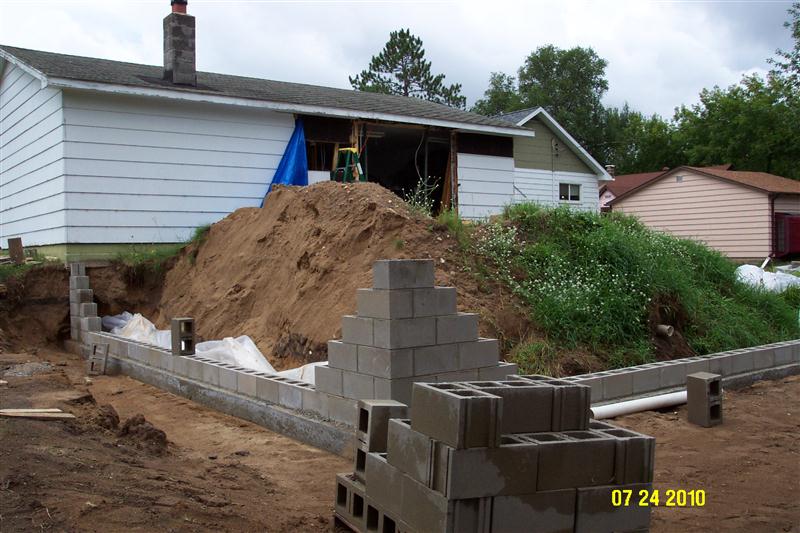
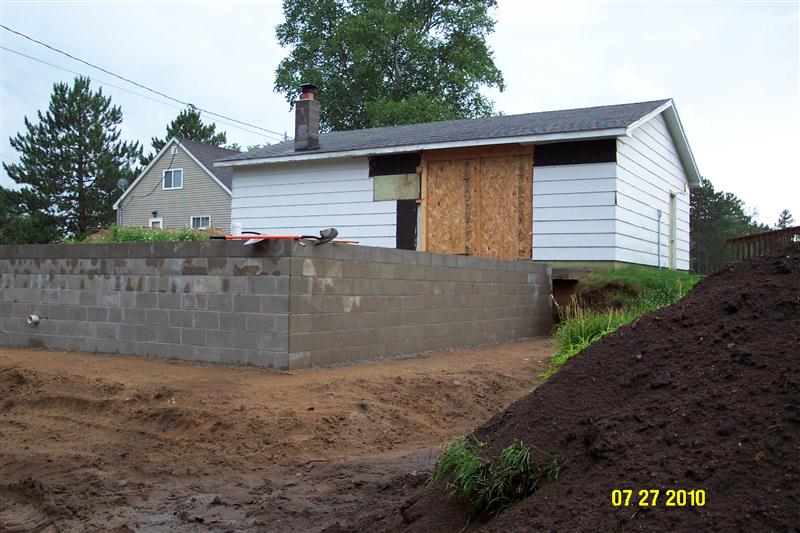
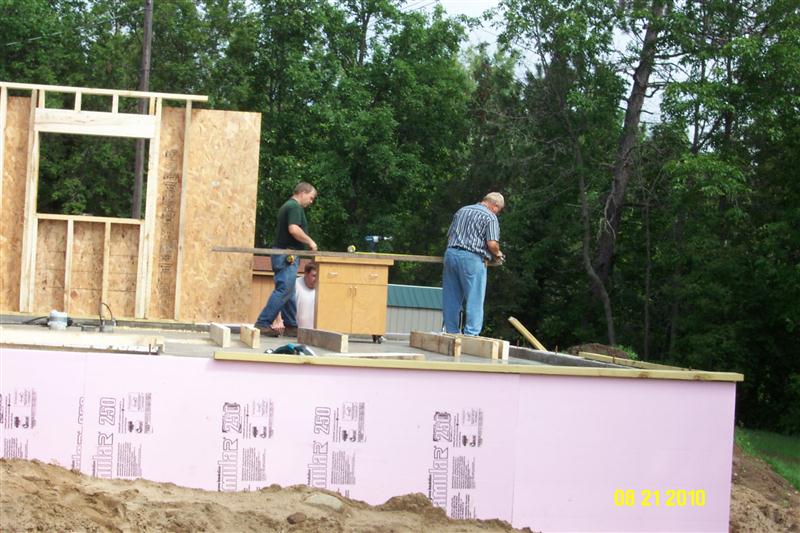
My
brothers and I poured the footing and are laying the foundation blocks. We
opened the East wall of the garage where the door into the shop will go. I
am going to put in a pair of 36" doors to access the shop.
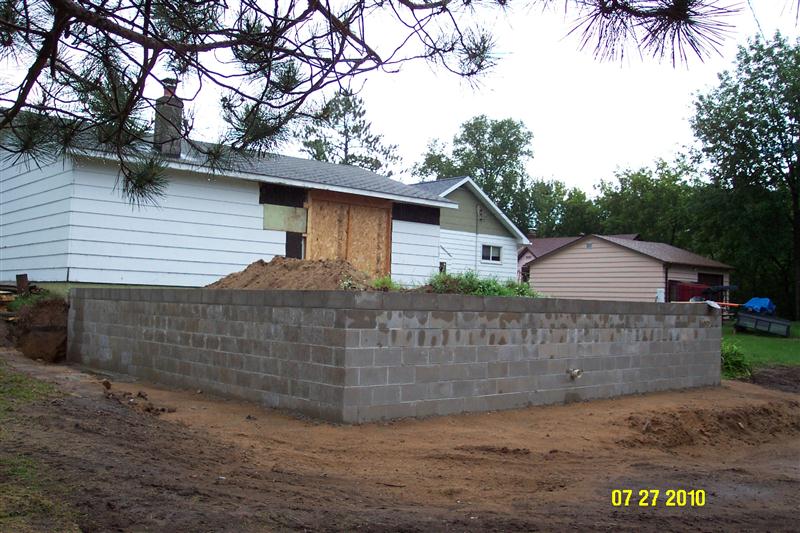
The
foundation walls are complete. I am in the process of installing rebar in
the foundation walls and
core filling the blocks.
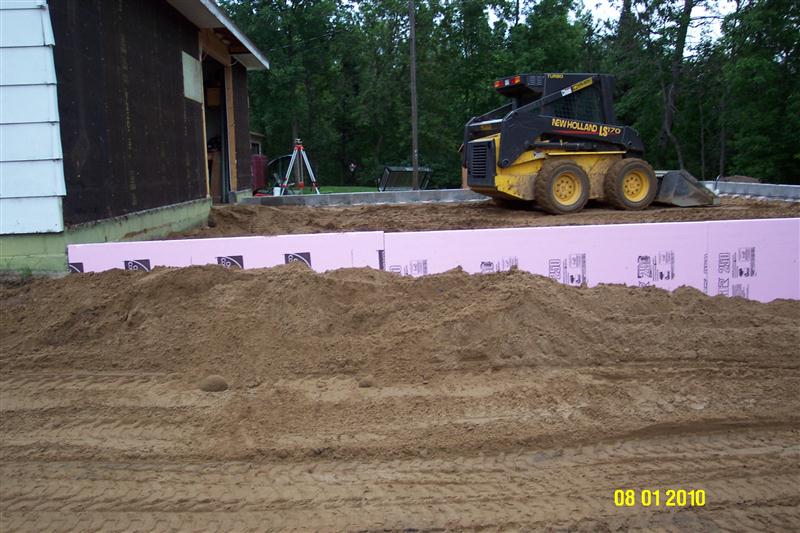
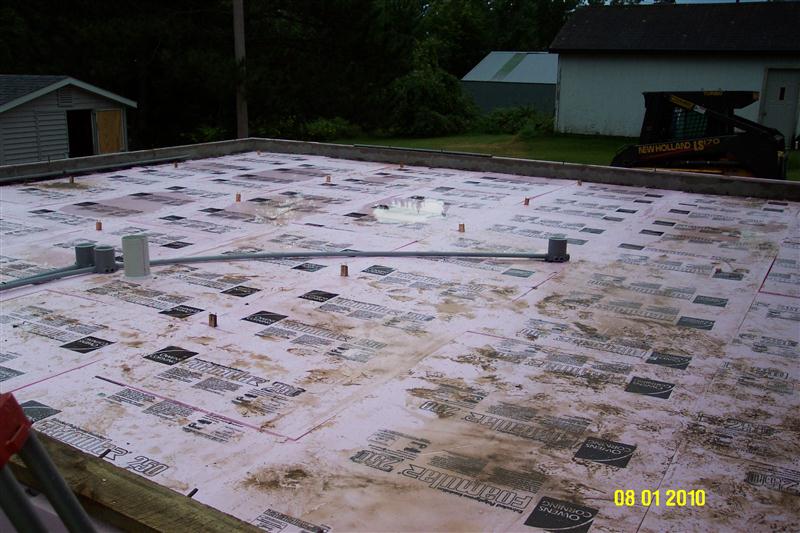
I
have filled in the shop area. We installed 2" stryofoam on the
foundation walls.
We
installed 2" styrofoam under the floor and roughed in the electrical
in the floor. I also ran a dust collection drop for the tablesaw under the
concrete.
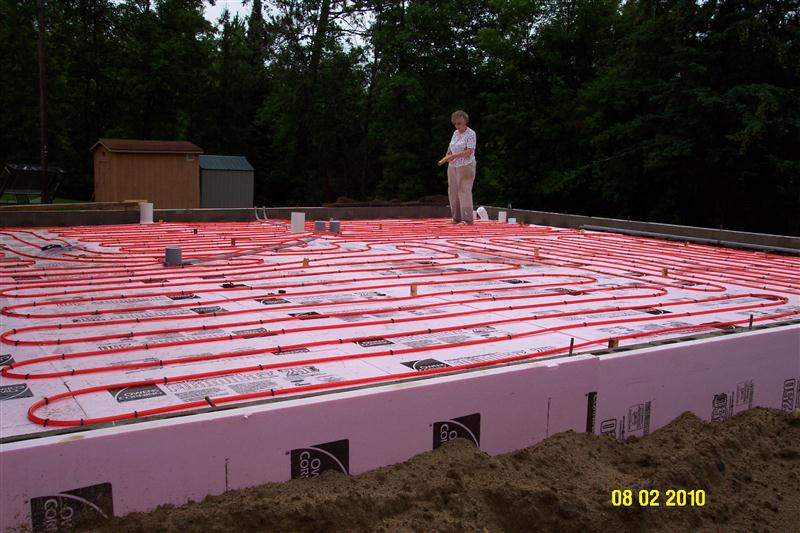
We
installed 750 feet of PEX tubing for the radiant floor heat.
I
placed rebar on 32" spacing.
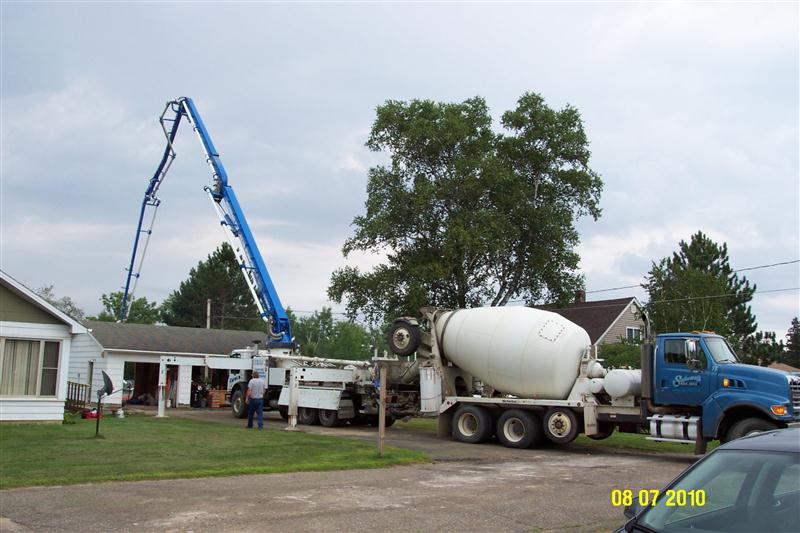
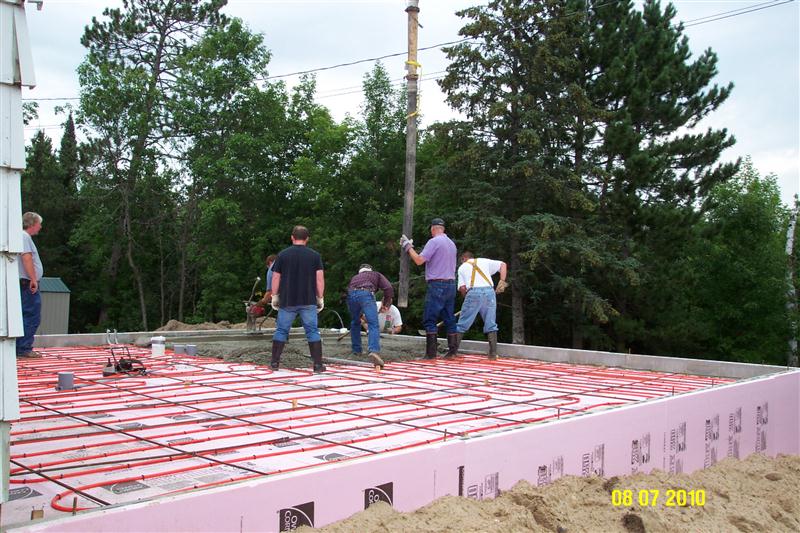
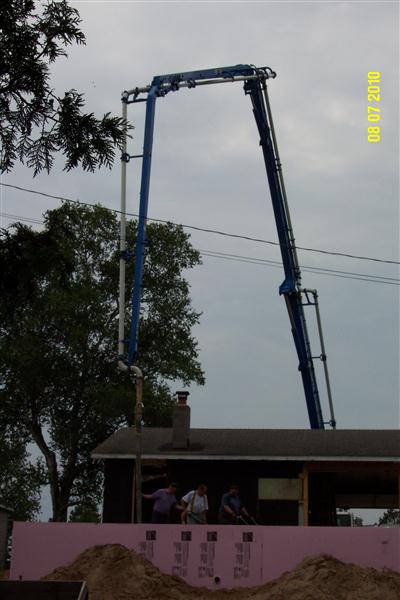
The
concrete pour has started.
I
have my bother, mom and dad, and several friends to help.
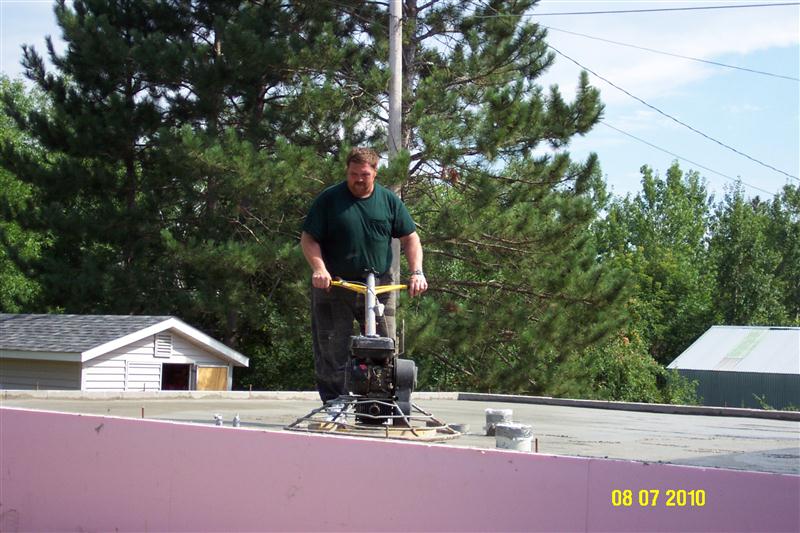
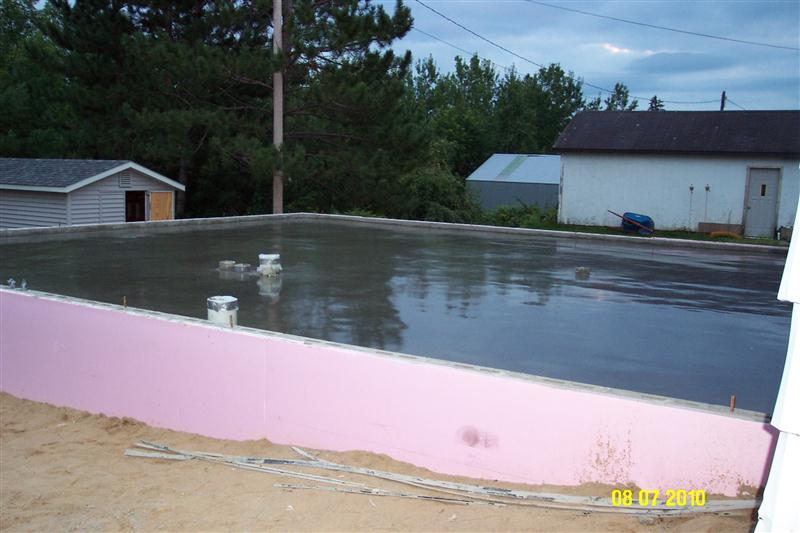
And
I have a beautiful floor. We coated it with a concrete sealer.
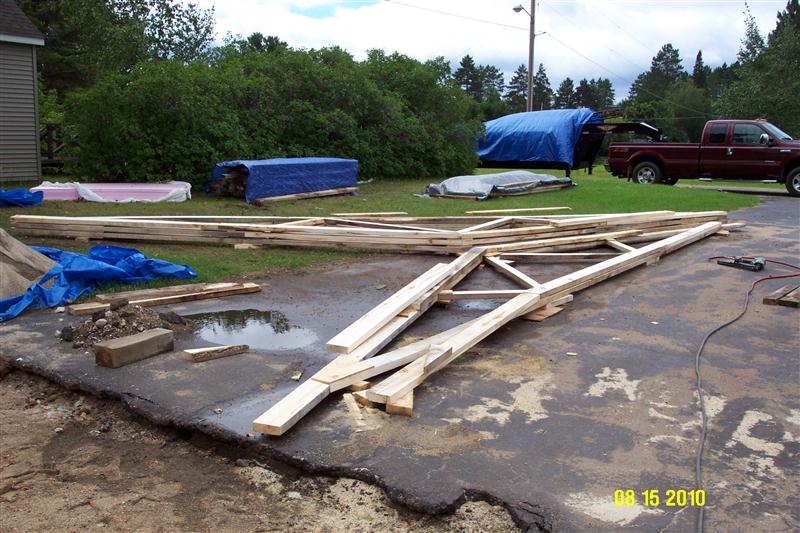
I
am building the trusts for the workshop.
The
walls are started! My two brothers and my nephew are helping me with the
framing.
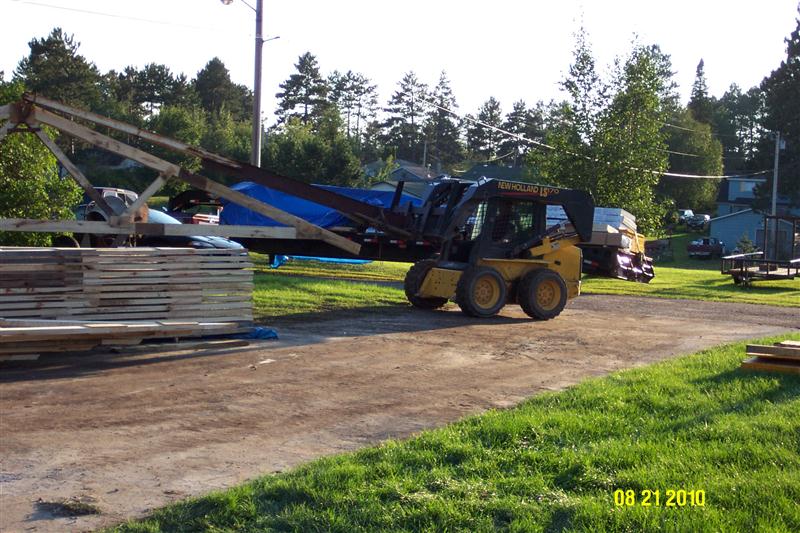
We
are starting to install the trusts. We got the walls built and 5 of the 20
trusts installed on the first day. We have
this boom that we can put on our forklift tine bucket on the skid steer or
JD 3020. For my shop the trusts are small enough and space around the new
shop tight, so we used the skid steer.
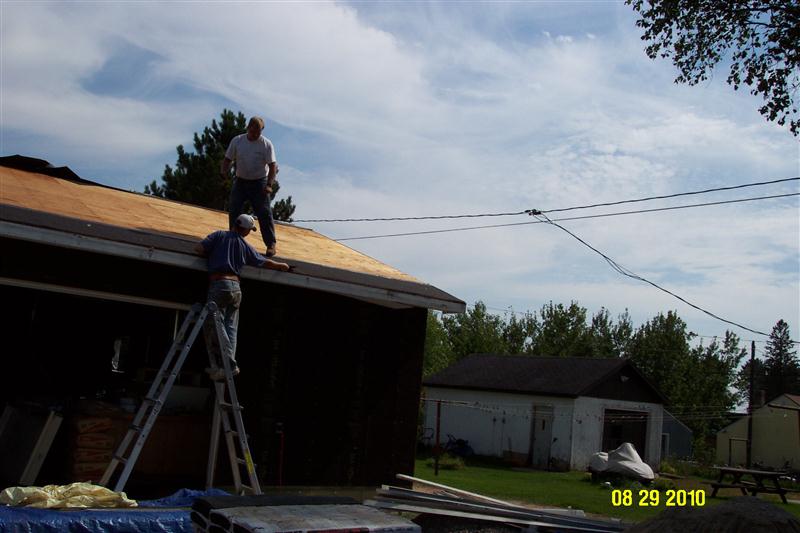
Day
2 we got all the trusts installed by 11 am. In the afternoon we got the fascia
boards installed and the roof decking on. In the evening we got the
roof covered with tar paper. Now on to the shingles.
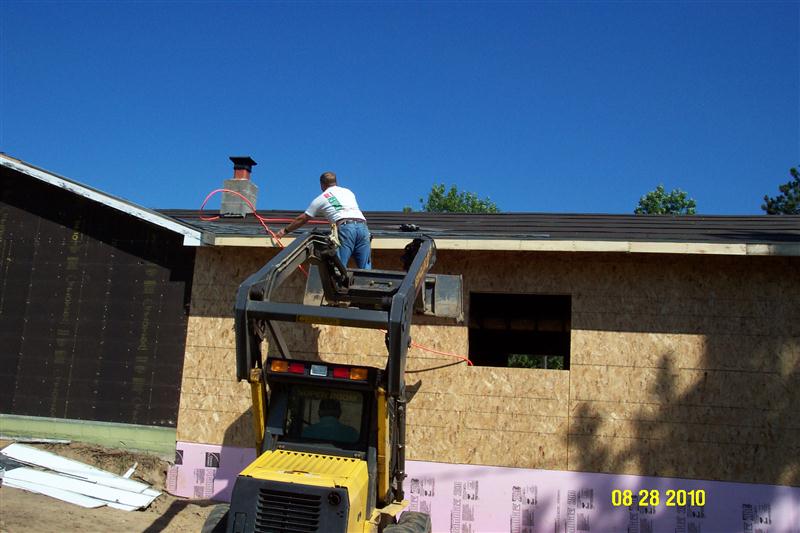
Shingling
has begun. For the bottom courses I am standing in the bucket of the skid
steer. We got all the bottom courses on all three roof sections completed.
Now I can work on the field of the roof from on the roof.
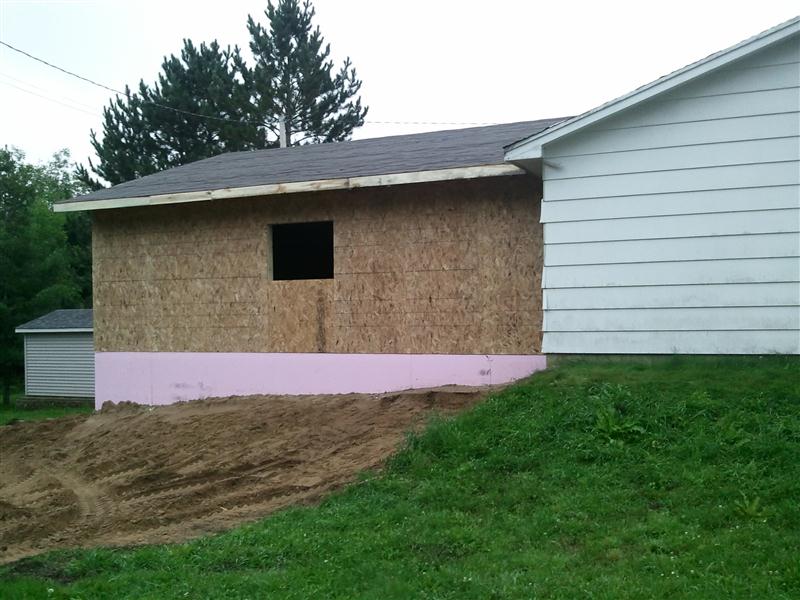
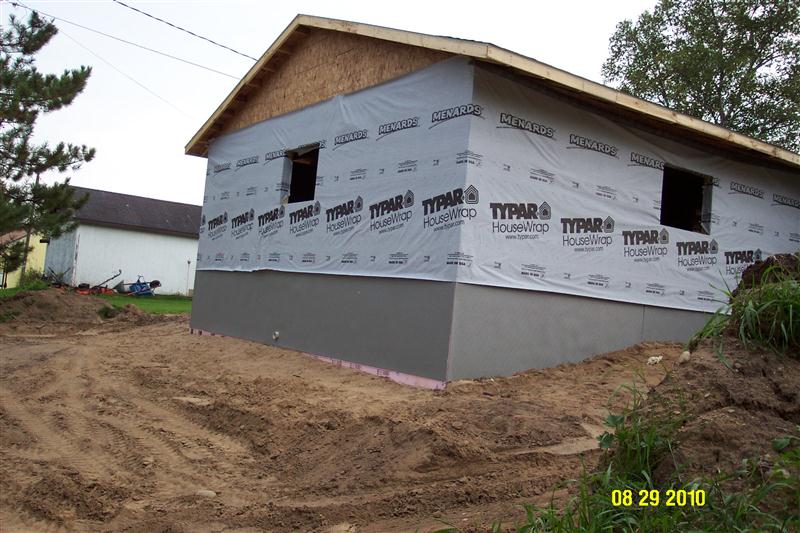
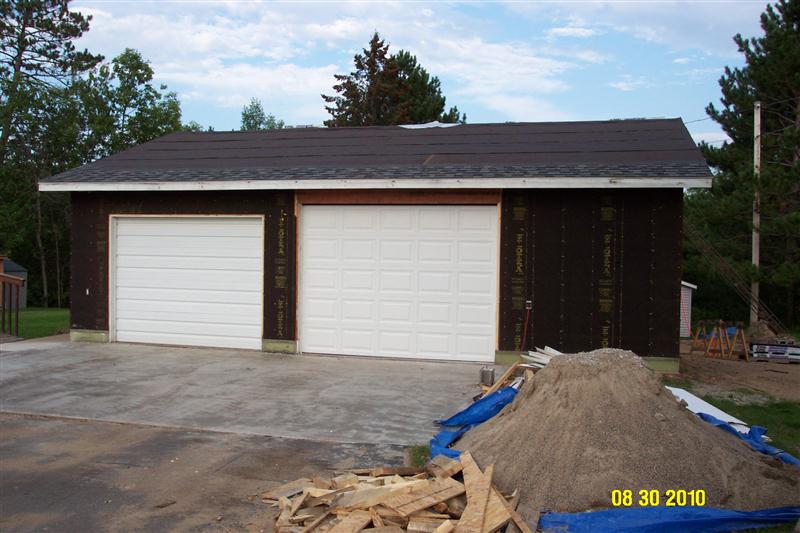
We
wrapped the styrofoam in a foundation liner to protect it from the sun.
The new shop is wrapped in Typar.
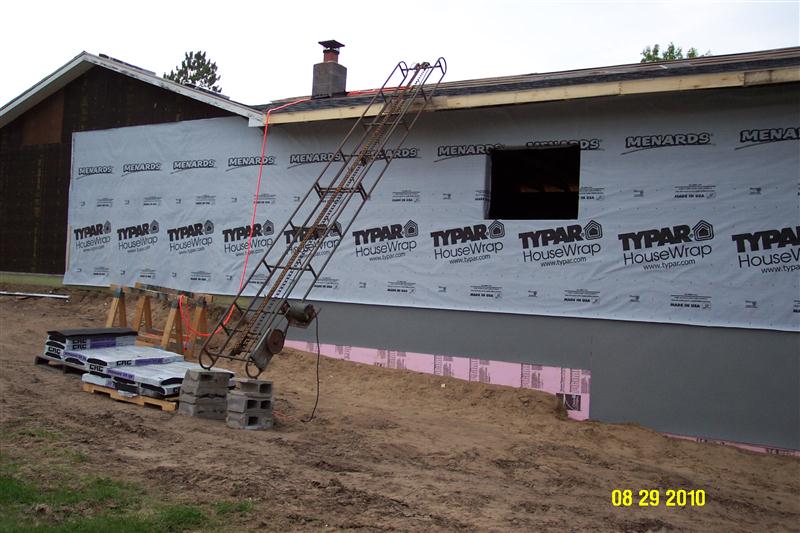
I
am expanding the opening for a new garage door for the truck. I had 9x7
doors, and the truck barely fit, so I am installing a 10x7.5.
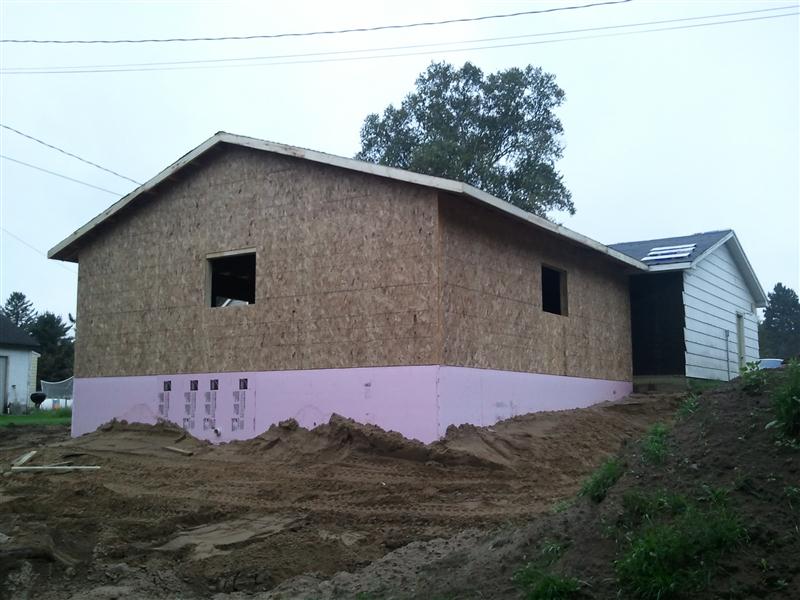
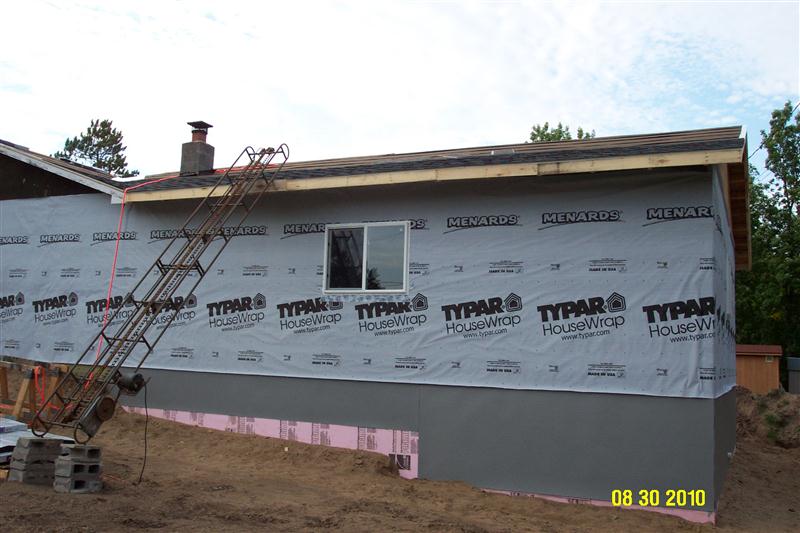
We
installed the windows Sunday evening. In the right picture you can see the
bale elevator we used to transport the shingles to the roof.
I hauled in 35 yards of fill on Tuesday for
around the shop. Now I have to spread out the piles of top soil I have.
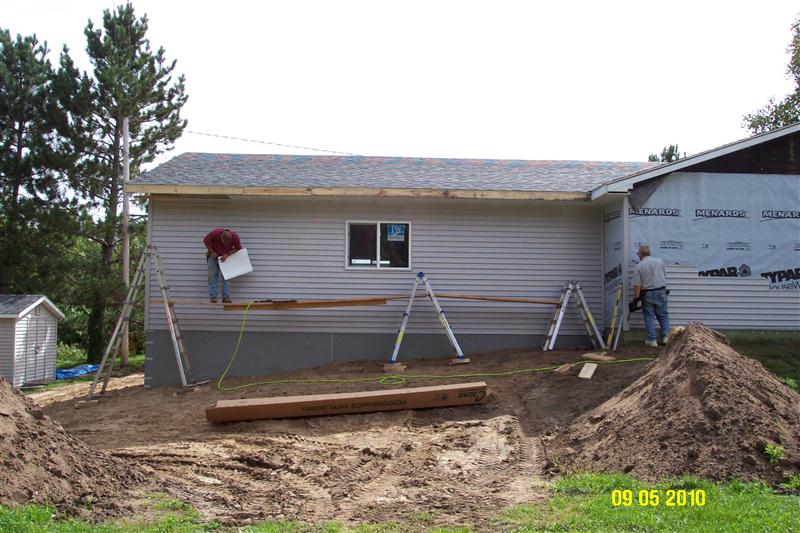
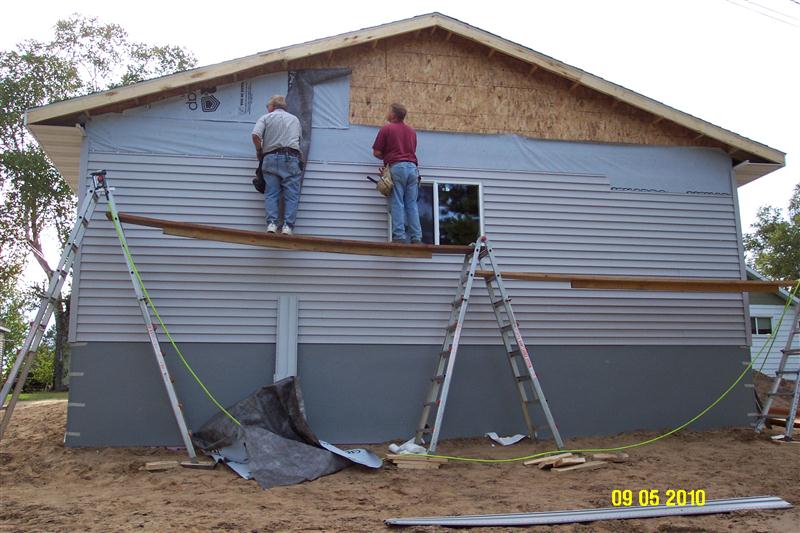
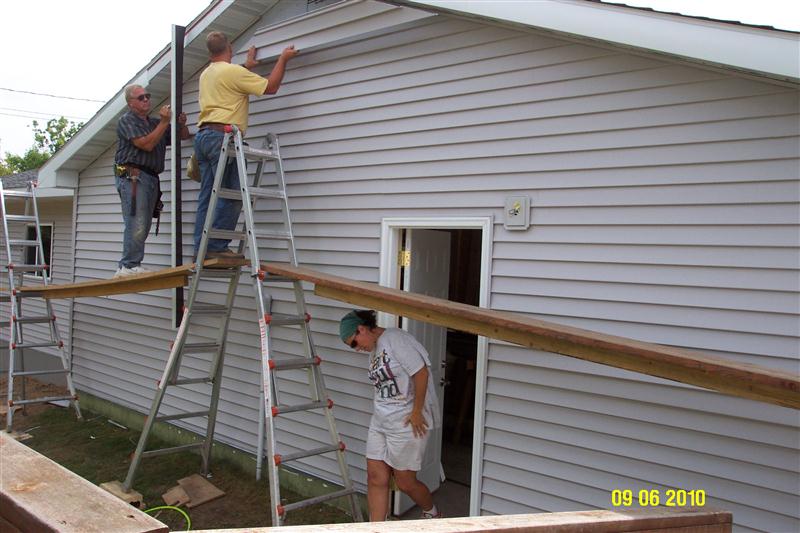
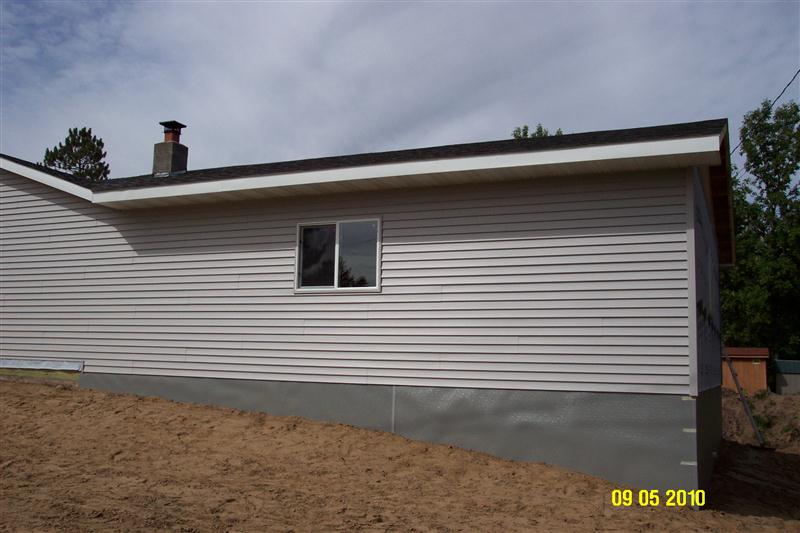
I took Thursday and Friday before Labor Day
weekend off from work and my Mom and I finished the roof. On Saturday, my
brother and niece came and we started siding. Finished on Labor day.
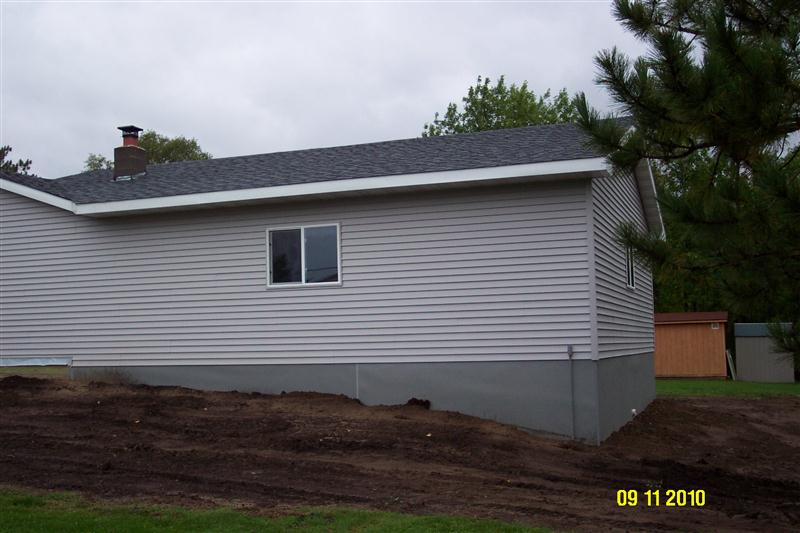
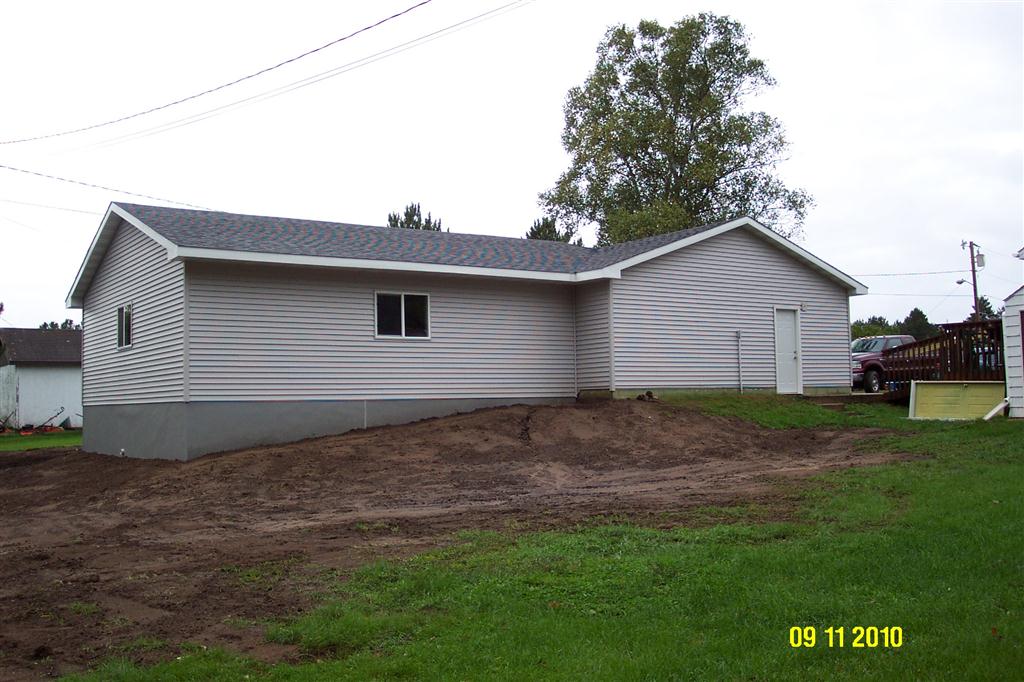
Exterior
Done!
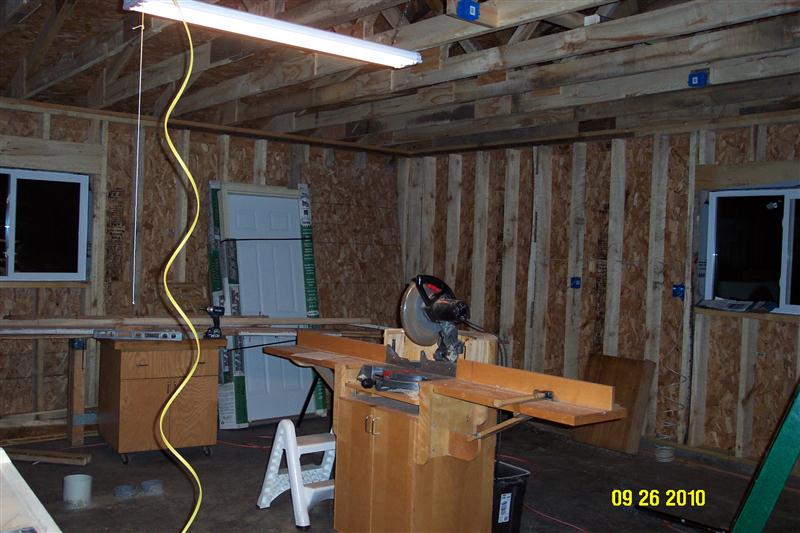
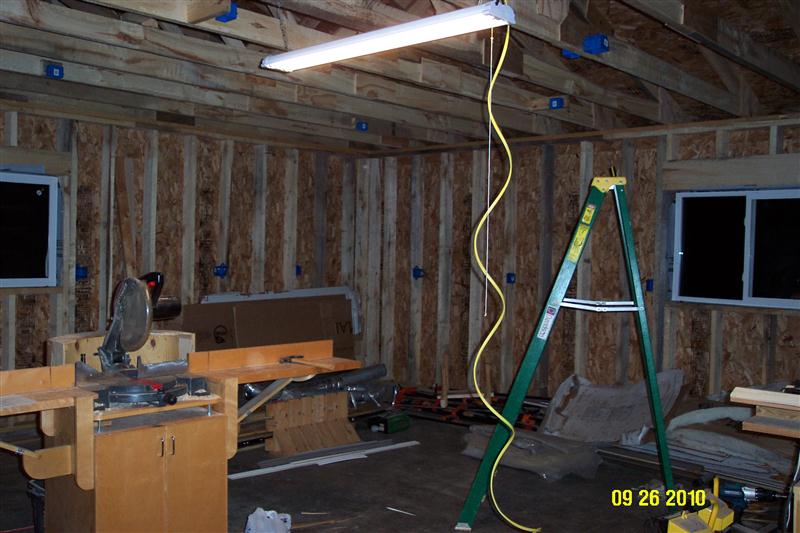
I
have started of the process of wiring the shop. There are 14 circuits
in the shop. I am reusing 6 circuits from the old shop.
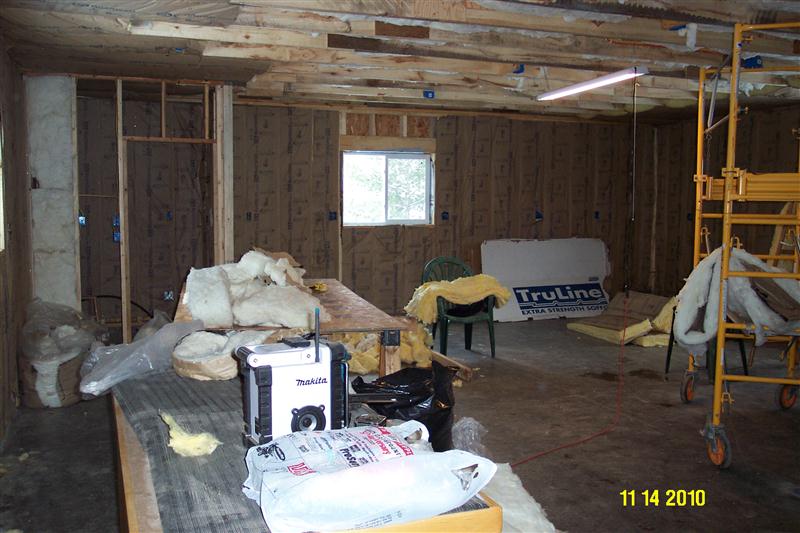
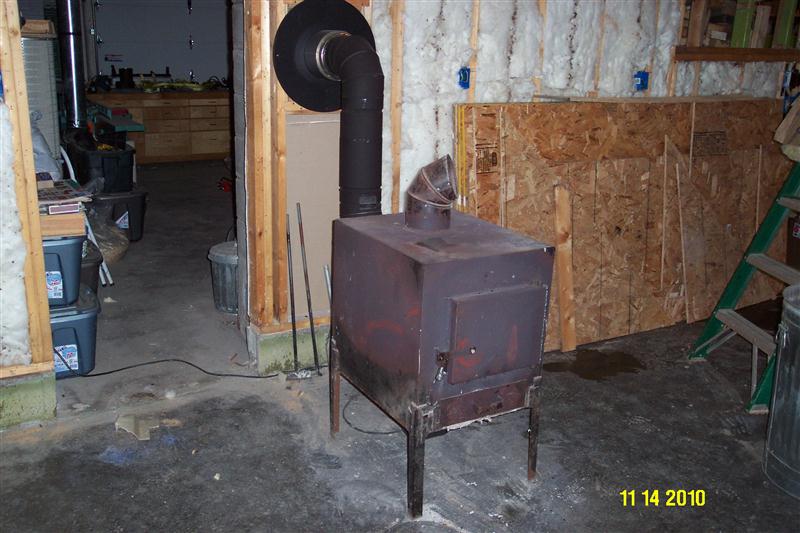
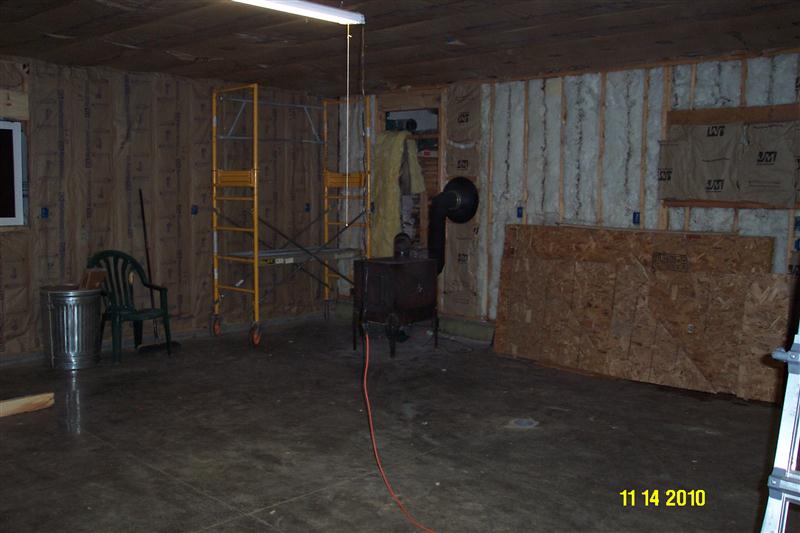
The
electrical has its rough-in inspection complete. My parents came to help
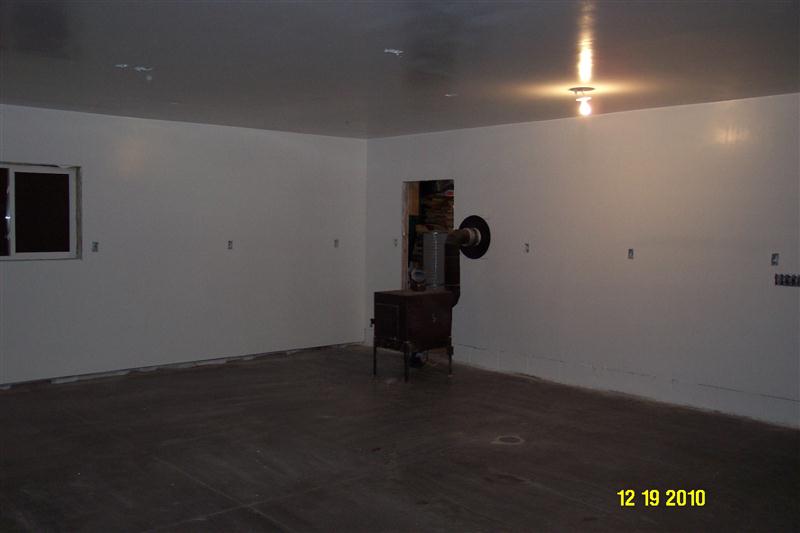
and we have started insulating. It is cold outside, 24 degrees when we
started, so I had to get the wood stove hooked up first! You can't see it
in the pictures but it also snowed about 5 inches during the weekend.
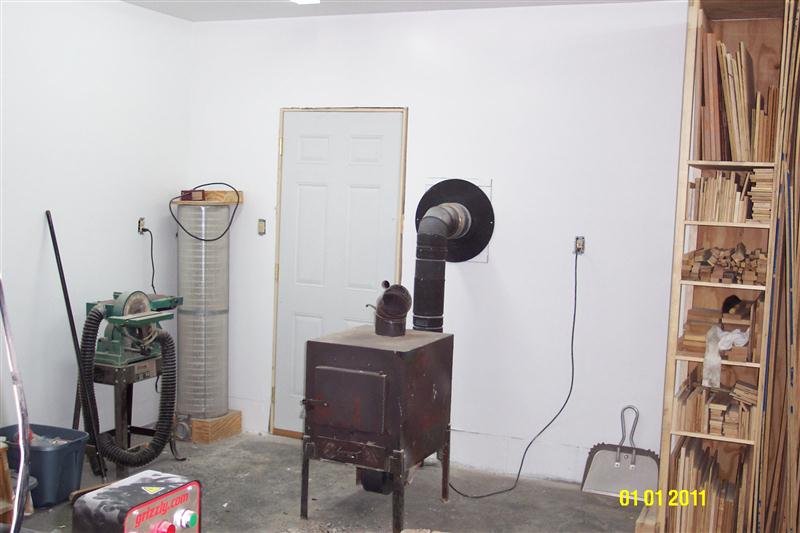
We
have the insulation complete. In the corner is the bathroom. I will not
have the shop always heated, so I am installing a small baseboard heater
in the bathroom to keep it warm.
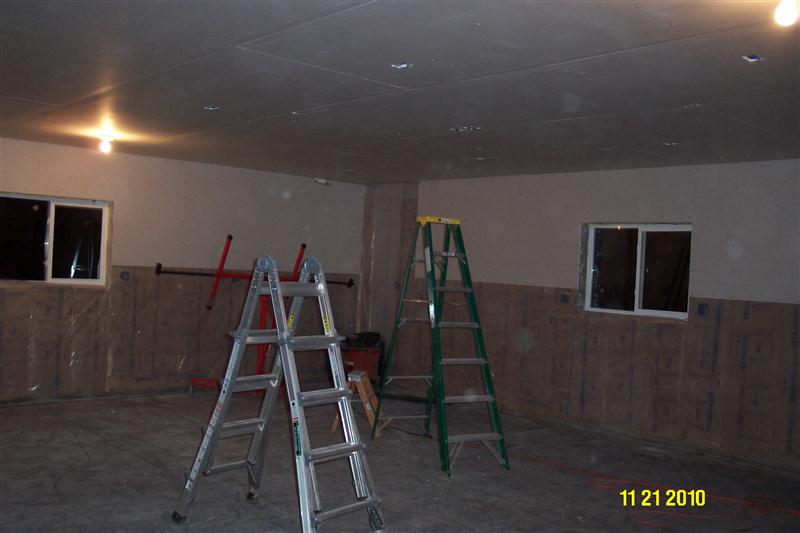
A
friend came out one day and we hung drywall on the ceiling and got started on
the walls.
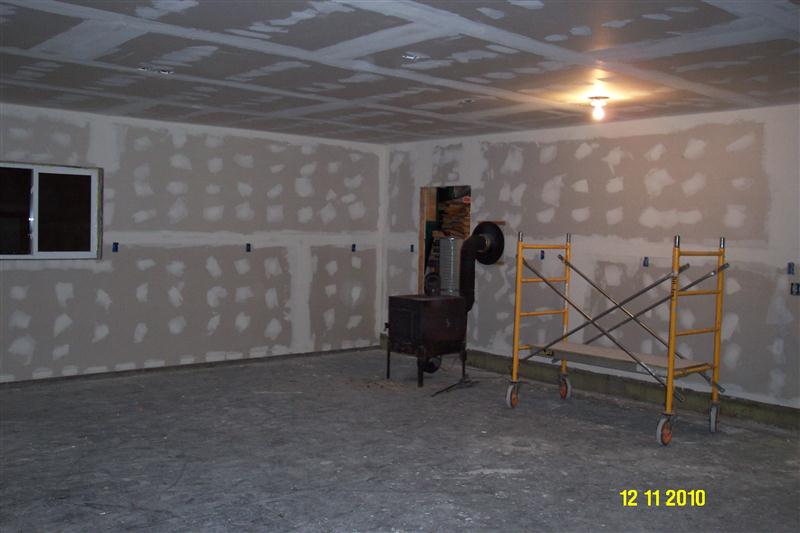
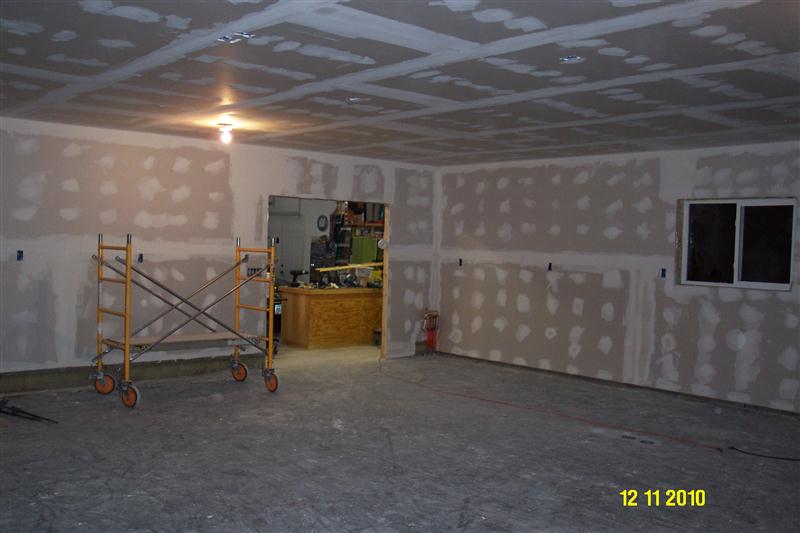
We
finished the hanging the drywall. On to the mudding and taping.
Mudding
and taping complete.
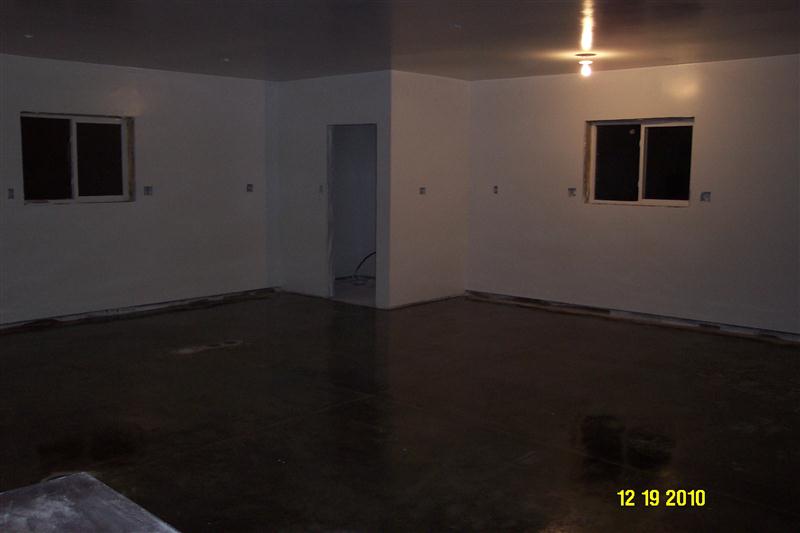
And
it is painted!
I
put linoleum on the floor in the bathroom to make it easier to
clean.
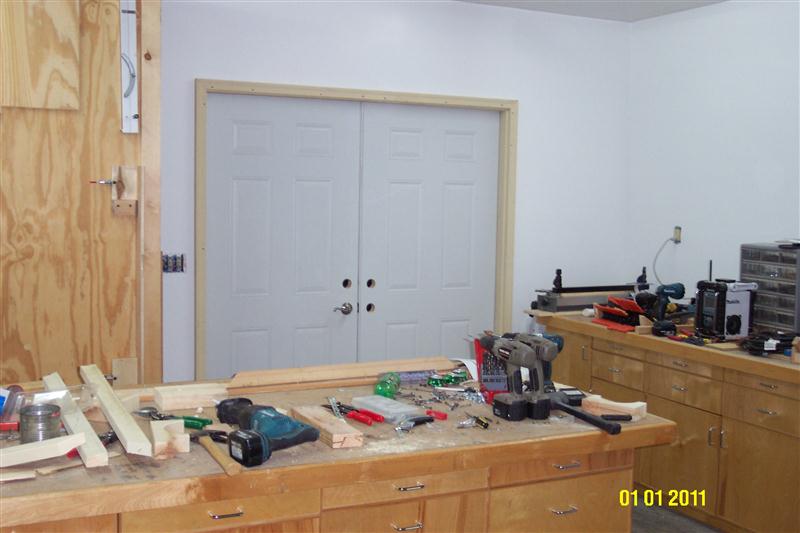
The
doors between the garage and shop are in. It sure makes it easier to heat!
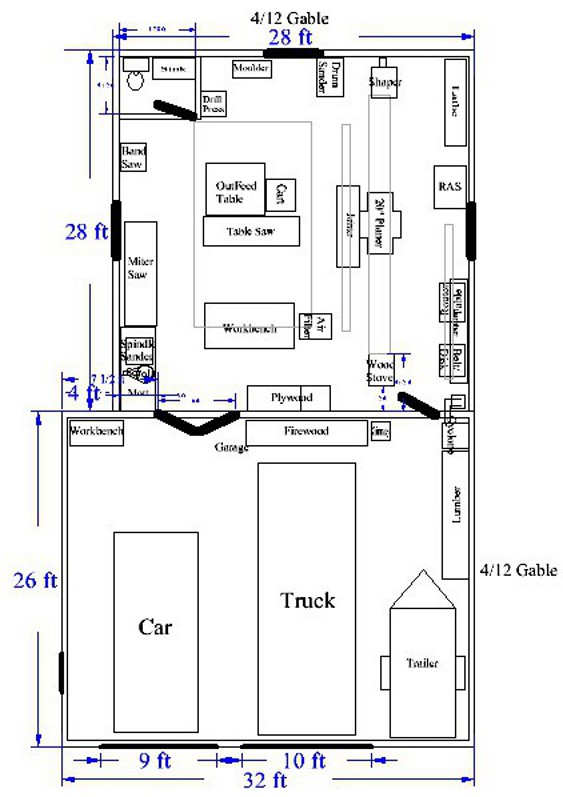
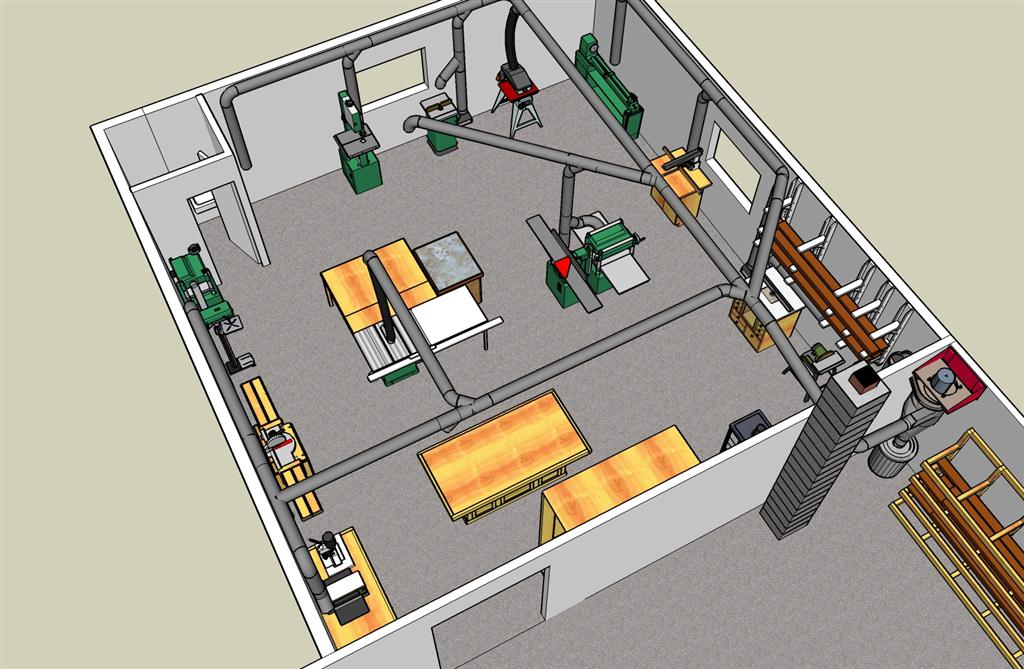
Here is a drawing of the shop
addition to the garage.